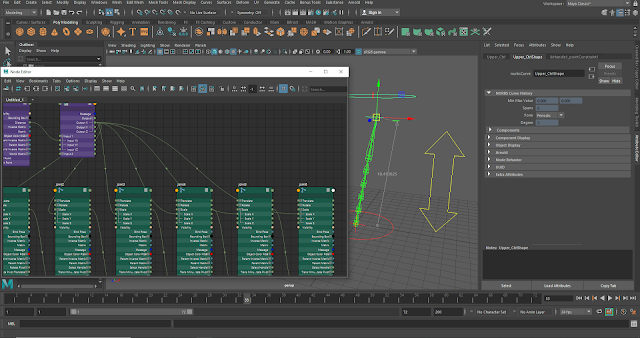
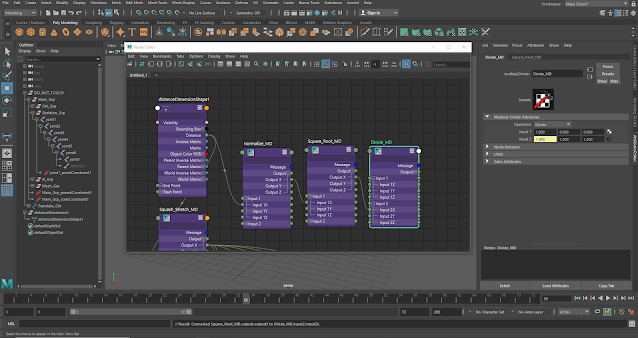
The other tutorial from Monday's lesson covered conditional squashing and stretching again using the node editor. The few steps involved making the mesh invisible for easy access to the joints and creating a distance dimension using the measuring tools in the software
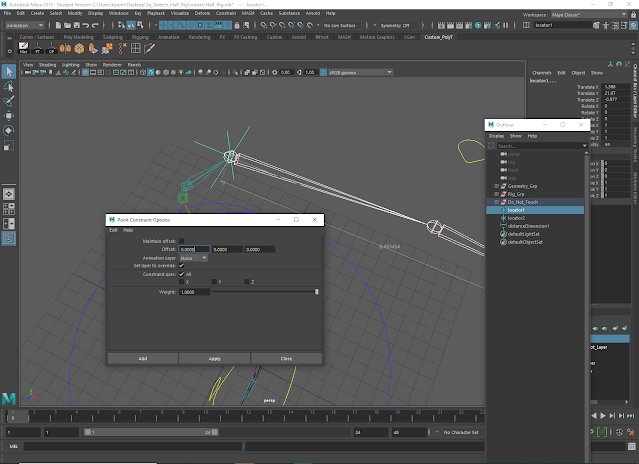
After snapping the distance dimension locators to either side of the arm on the shoulder and wrist joints, the shoulder joint and locator snapped to it were point constrained to one another and the locator positioned at the wrist and the wrist control were as well.
Next came organizing the outliner by renaming the locators and distance dimensions, making the shape visible, and then opening the node editor with the selected joints.
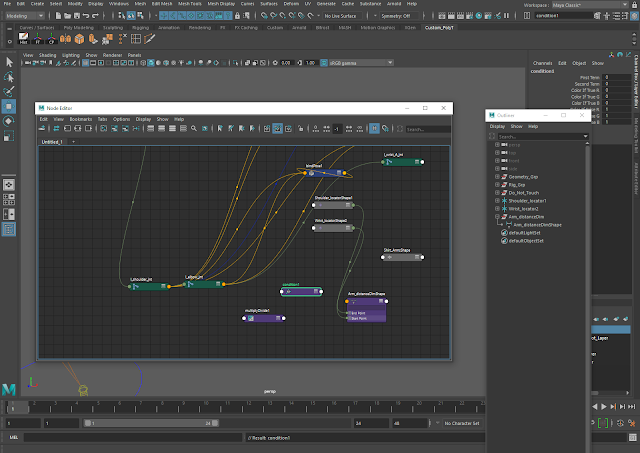
'Multiplydivide' and 'Condition' nodes were created and the 'distance' attribute from the distance dimension shape node was plugged into the multiplydivide and condition nodes. Values were then collected from the 'Translate X' channel on the joints in use.
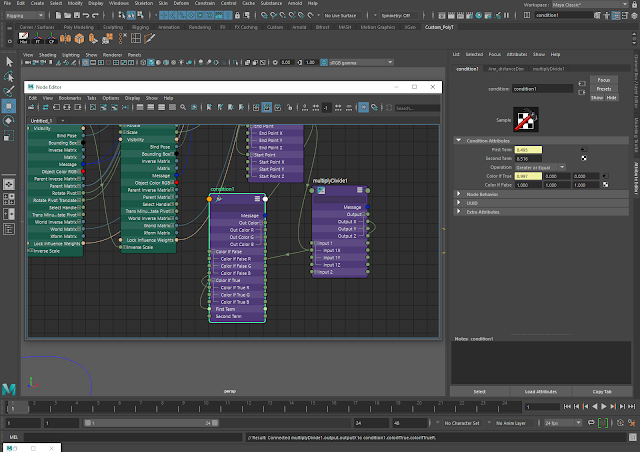
This information was then used to edit the nodes in the attribute editor so that the 'Output X' on the multiplydivide node could be plugged into the condition node. Once these nodes were connected to the 'Scale X' on the necessary joints, the mesh was made visible again and the result tested.
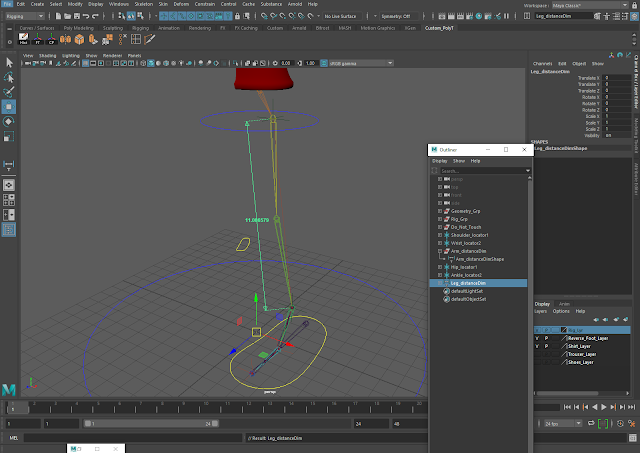
This process was repeated for the leg: a distance dimension was created and snapped to the top of the leg and ankle joints before the locators were point constrained to the hip joint and foot control respectively. These were then renamed in the outliner, the node editor was opened and more multiplydivide and condition nodes created, and information from the joints gathered before input into the nodes and everything plugged in again.


