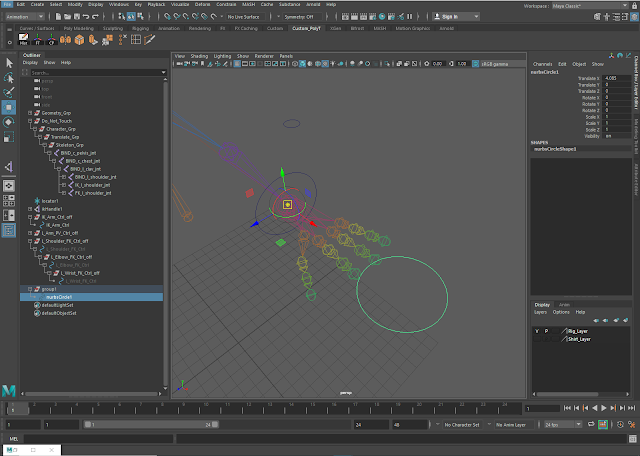
The final tutorial from Monday's lesson had us looking at creating an IK and FK switch for an arm rig. The first couple of steps involved duplicating and unparenting the shoulder joints.
Using prefix hierarchy names to rename the joint groups for both the original and duplicate sets of joints (the original had "BIND" added to it, and the duplicate sets had "IK" and "FK" added to them) and then adding them to individual layers so the visibility can be switched on and off to prevent confusion when creating the switch.
Starting to set up the IK rig first by parent constraining the IK joints to the Bind joints from the elbow.
Point constraining to the wrist.
Orient constraining to the wrist.
Repeating these steps for the FK set and then testing it out.
Setting up the control for the switch by creating a locator, positioning it in accordance to the shoulder joint by snapping it and dragging it upwards, and then freezing its transformations and hiding and locking the channels already on it. The "Add Attribute" window was used to create a new IK and FK switch channel.
Using "Set Driven Key" to turn off the FKs on the constraints while the locator's IK and FK switch channel is set to 0 and keying them.
Setting the value on the locator's IK and FK switch channel to 10, and then reversing the values in the channel and keying those as well.
Creating an IK handle and a grouped nurbs circle in preparation to make the controls.
Positioning and setting up some of the controls for the IK, and then using a pole vector constrain for the elbow.
Using the "Set Driven Key" window again to configure the visibility on the IK controls.
Setting up the FK controls and connecting them using orient constrains.
Renaming the controls and setting up a parent chain for the FKs.
Using the "Set Driven Key" window again to configure the visibility on the FK controls.
Cleaning up the scene and creating a custom control for the wrist to override potential problems by repeating the previous process of setting up a control using a nurbs circle.
Continuing to set up the new wrist control and readjusting the existing driven keys to accommodate the changes.
Testing it to see if it works.
Turning the geometry of the model back on and then configuring the visibility keys on the new wrist control to match the IK and FK switch that had already been set up.


No comments:
Post a Comment