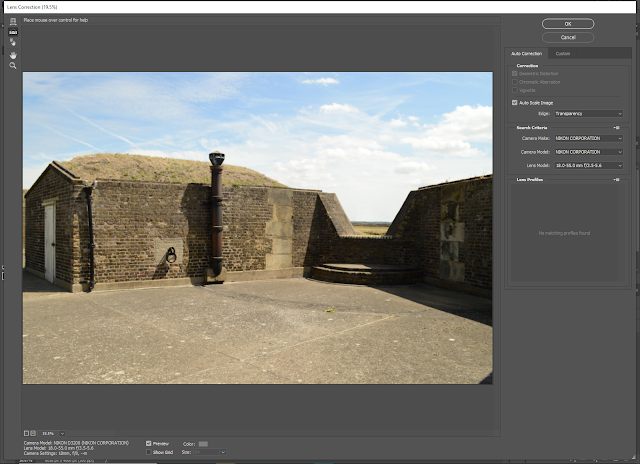
The next set of Photogrammetry tutorials began with looking at lens correction and how to do it in Photoshop using two photographs supplied to us. The first of these had file data attached to it, whereas the second did not, thus giving us two separate (but very similar) methods to work with.
Opening the photographs in Photoshop.
Looking at the file data on the first photograph.
Using the lens correction filter to straighten the photograph and remove any distortion around the edges; as this photograph has file data attached to it regarding the camera that was used to take it, this information was able to be used to fix any distortion automatically.
Moving on to the second picture which doesn't have file data attached to it and opening it in the lens correction filter, then turning on the grid and lining it up with one of the edges on the container.
Using the straighten tool.


No comments:
Post a Comment