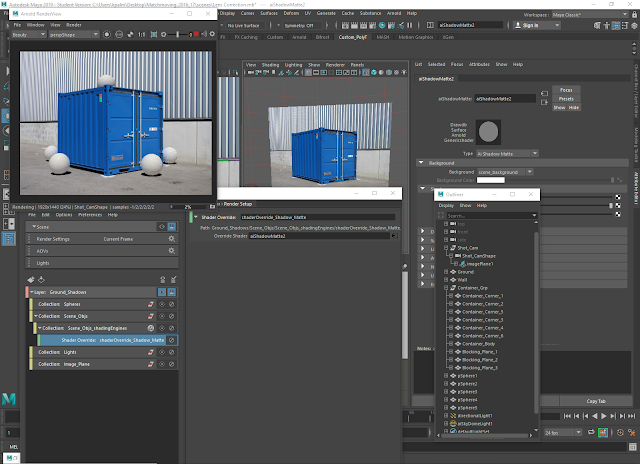
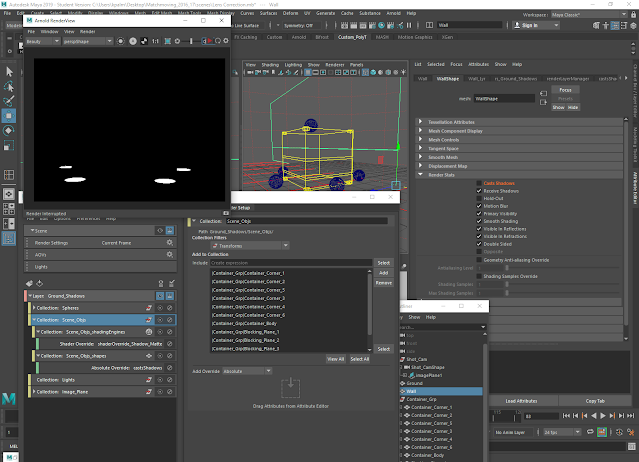
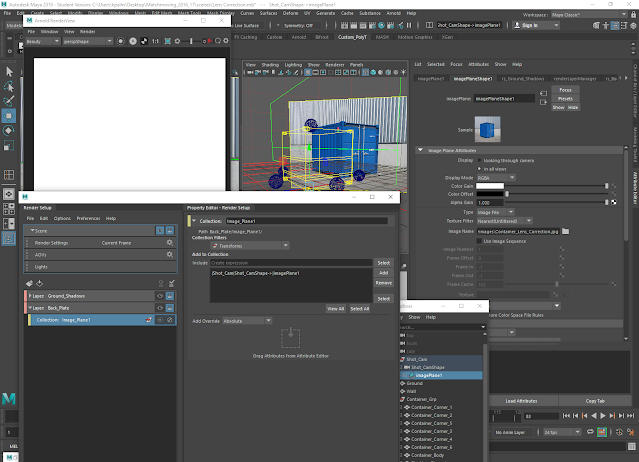
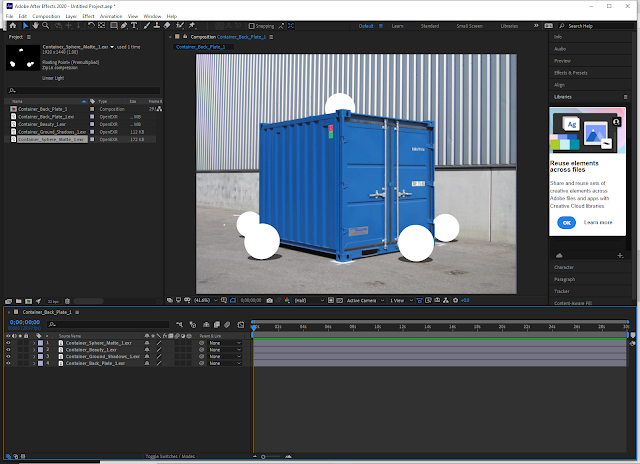
This tutorial had us using render passes which were then exported into Adobe After Effects and composited together.
Starting off by duplicating one of the spheres and placing it on top of the container.
Opening the different editors to work in.
Creating a 'ground shadows' layer with multiple collections inside which have the corresponding shapes in the scene added to each of them.
Adding a shader override to a shadow matte shader beneath the scene objects layer and reloading the renderview.
Setting up the image plane collection using an absolute override on the display mode attribute of the image plane shape.
Setting up the spheres collection by creating an absolute override on the primary visibility attribute on the render stats of each sphere in the scene.
Placing an absolute override on the casts shadows attribute on the scene objects collection.
Creating a back plate layer and an image plane collection within it.
Creating a sphere matte layer with spheres, scene objects, lights, and image plane collections. The former two collections have shader overrides attached to them while the latter two have absolute overrides attached to them.
Creating a beauty pass layer and adding everything to it underneath a single collection.
Adjusting the render settings and then the render sequence settings.
Rendering out each of the layers as individual passes in .exr format, opening Adobe After Effects and importing them, and then changing the settings from 8 bits per channel to 32.
Setting the alpha channels on the beauty and back plate passes to be ignored.
Dragging each of the files onto the composition and layering them accordingly.
Attaching the beauty pass to the sphere matte pass, changing the opacity of the ground shadows pass, and applying a gaussian blur to it.
Adding a grain effect to the beauty layer to better integrate the added objects into the scene.


No comments:
Post a Comment