Binding the skin of the boots to the leg joints.

Flooding the joints using the 'Paint Weights' tool.

Mirroring the weights across to the other boot.

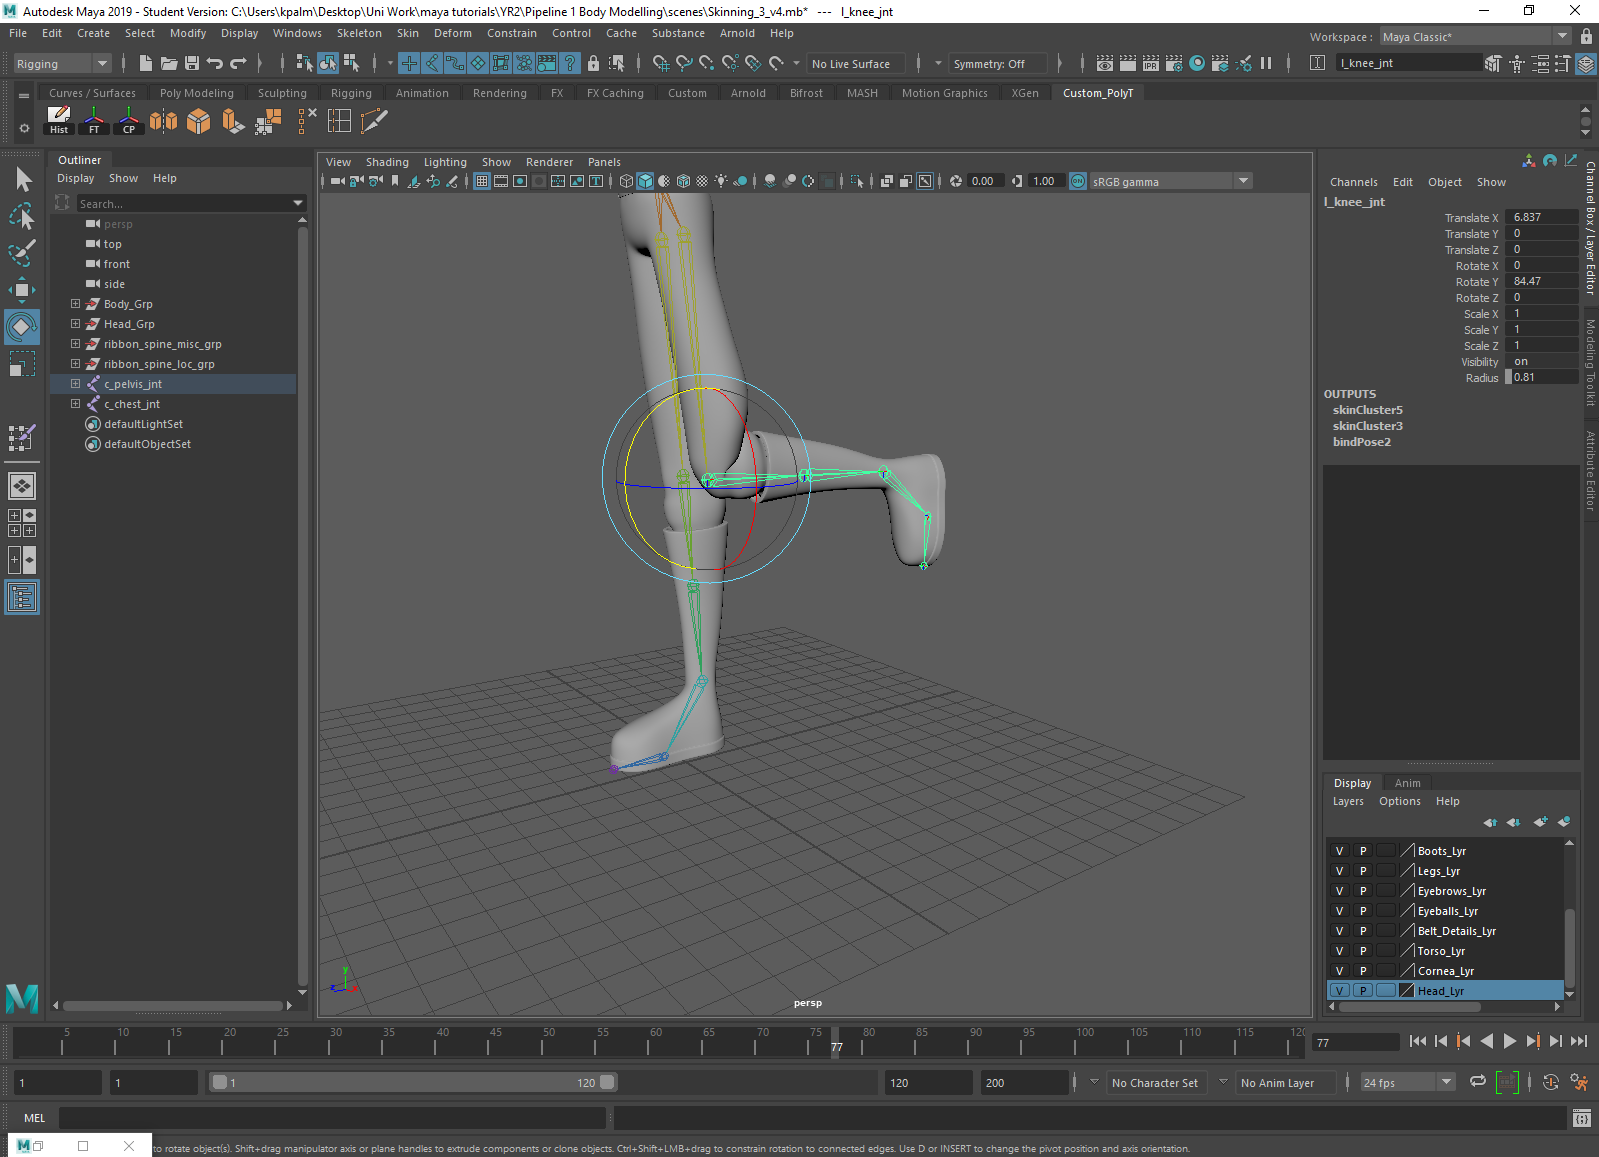
Repeating the process with the rest of the body, starting with the legs: binding the skin to pelvis and leg joints, flooding it, and then using the vertices to flood specific areas.

Mirroring the weight work done on one leg over to the other.

Moving on to the chest by binding the skin and flooding the selected joints.

Flooding each set of finger, thumb, wrist, and arm joints.


Once the arm up to the clavicle, the neck, and the rest of the torso is complete (and the arms are mirrored across), the chest joint is also complete.

Temporarily binding the head and anchoring the neck into position by binding it to the chest joint (whereas the other joints are attached to the first and second neck joints).

Binding the belt buckles to the pelvis joint.

Parenting the other objects to the neck joint temporarily.

Checking that the binding worked.