Friday 30 November 2018
Toolkit 1: Autodesk Maya: Digital Set (Part 8)
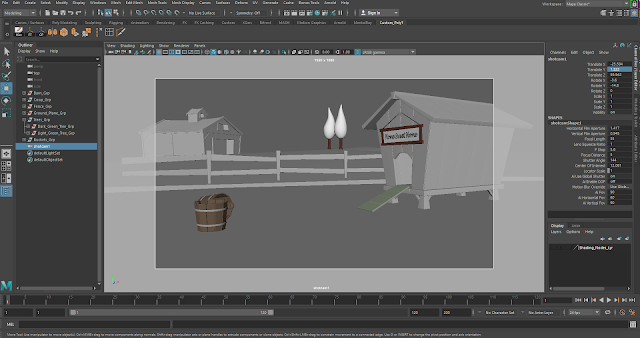
In today's lesson, we compiled our components into a single scene so we could scale, rotate, and place them accordingly. We then set up a camera and some lighting for our scene so we could do some render testing, and finished by adding the base colours for our scene.
Thursday 29 November 2018
Toolkit 1: Autodesk Maya: Digital Set (Part 7)
To create the ground model, we had to create a plane and change its subdivision width and height to accommodate stretching. We then duplicated the plane and deleted some edges off of the original to model the end of the grass so we could use the copy to model the shape of the sand. We used the soft selection tool to create a more organic surface for the grass (small hills and bumps) and then laid out the UVs so we could clean up the model by grouping it and renaming parts.
Toolkit 1: Autodesk Maya: Digital Set (Part 6)
For the next part of the digital set tutorials, we had to make a fence. All of the image planes were set up and the individual posts were made first. One default panel was then made which could be duplicated and edited to fit the rest of the panels. Once the whole fence was made according to the orthographs, the entire fence was bevelled with its segments and fractions changed and edge loops were added in to hold the geometry. We then cleaned the model up by renaming and grouping the parts so we could delete the history and freeze the transformations.
Wednesday 28 November 2018
What If Metropolis: Key Asset Modelling (Part 1)
I modelled my first building today by starting out with the cube shapes after setting up my image planes and setting their layer to "reference". I dragged the vertices into place and beveled the cubes so I could add edge loops to prevent their geometry from collapsing. I cleaned it up by deleting unnecessary faces that won't be seen in the final piece.
To make all of the window and door shapes, I extruded the front face and scaled it before pushing it back to create a somewhat hollow appearance. For the circular shapes, I used a basic cylinder which was pulled into shape and added edge loops into them to get them to look more disc-like.
I finished by grouping pieces and renaming them so I could delete anything I didn't need in preparation for making my UV layouts.
Toolkit 1: Autodesk Maya: Digital Set (Part 4)
I finished modelling the barn, deleted the image planes & their layer, and cleaned up the outliner to prepare for making UV layouts.
Tuesday 27 November 2018
Toolkit 1: Autodesk Maya: Digital Set (Part 3)
After making the chicken coop, I moved onto the barn modelling tutorial. This one involved creating the basic shapes of the barn including some of the bars around the doorway, frame, and window so they can be duplicated later.
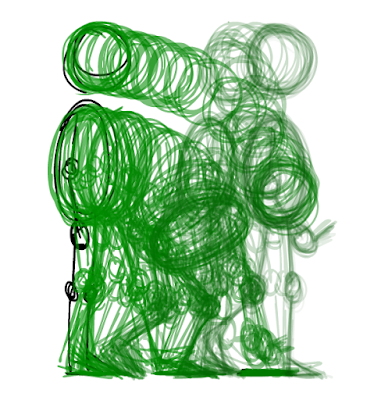
Toolkit 1: Animation: Run Cycle
The next task after the walk cycle was to create a GIF which involved a character running in place. The cycle consists of 7 frames which are then repeated and edited so the arms move properly (in this case, I used white outlines to note the arm movement).
Wednesday 21 November 2018
What If Metropolis: Street Furniture Art
As there are multiple trees, rocks, and a long fence in the concept painting, I decided that I could use these final elements to create individual models when needed and duplicate them. The trees and fence will probably be flatter models like the disc sculptures on tops of some of the buildings.
Subscribe to:
Posts (Atom)
-
Fig. 1: Theatrical release poster for Coco (2017). This review will be investigating Christopher Vogler’s and Carl Jung’s archetype...
-
Fig. 1: Edward Scissorhands Poster (1990) This review will focus on Tim Burton's Edward Scissorhands (1990) and how the concept...
-
Fig. 1: Theatrical release poster for Treasure Planet (2002). Ron Clements and John Musker’s Treasure Planet (2002) is an animated s...


