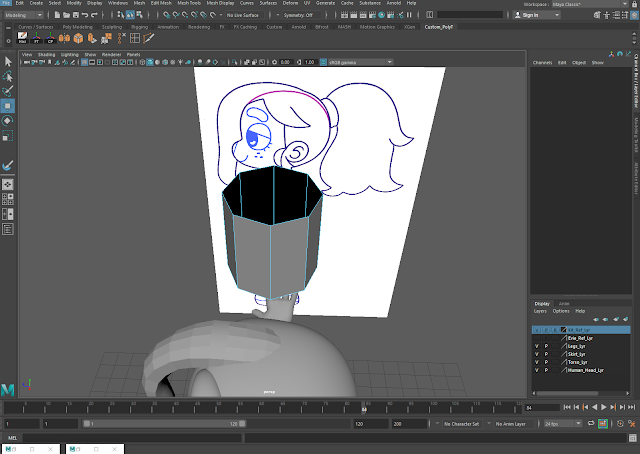
The next step was to finish the human characters, starting with Kit. Like with the animal characters, I started with their hair, but had to spend a significantly longer amount of time working with the hair to figure out how it would work in a 3D space and to create all of the different pieces required. Since Kit's hair is tied up in a ponytail, I started by creating a 'skull cap'-like piece of geometry by duplicating the head model and keeping only the parts that I knew I would need. I adjusted the model to begin to fit with the shape of the hair, leaving a small gap around the ears and extruding outwards to give it some volume.
Next, I worked on the first piece of hair hanging across the left side of Kit's head. This was done using the same process as the hair for the animal characters: by making a plane, putting the required edge loops in, and extruding the edges along the orthograph lines (or thereabouts) to create the shape.
Once I was satisfied with the shape, I applied it to the front of their head.
The next step to ensure that this side of the fringe was finished was to twist the shape around to the side to make it more natural-looking and appealing especially from different angles.
After this, I used the same method to create a smaller piece of geometry for the pieces of hair hanging down by their ear. This also meant adjusting the 'sideburn' piece a little bit, as I wasn't quite satisfied with the shape by that point and figured that it could be a little bit sharper to match the orthographs better.
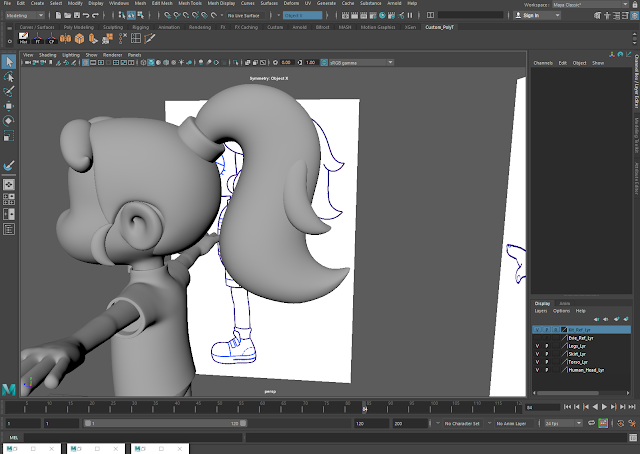
By this point, I had also begun working on the piece of hair hanging at the front of the right side of their hair. Since I was having difficulties figuring it out and spent some time debating on how I would translate this accurately and appropriately to a 3D space, I made the hair tie in the meantime. This was created using a cylinder, removing the faces, and extruding the edges where necessary. I then positioned it at the back of the head.
I eventually figured out how to do other hair piece in a way that would make sense from multiple angles, and duplicated the side strand by the ear onto the other side of the head as well.
After this, I moved on to the main body of hair by once again using the same method as before. Since this was a bigger piece of geometry, it was a bit more complex. After multiple tries, I realised that I would have to compromise on the shape of the hair and streamline it, and I'd have to add different extra strands with separate geometry if I really wanted to include them. Since I thought that the messier hair added to Kit's character and overall appearance, I decided to do so.
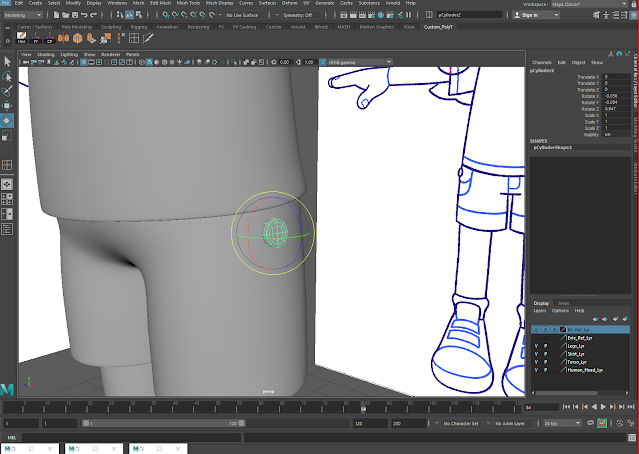
After the hair was completed, I added the buttons on either side of their trousers. This was completed the same way that the buttons on other characters were: by creating a cylinder, deleting the back edges that won't be seen, adding edge loops and changing the geometry where necessary, positioning it and scaling it correctly, and then duplicating and grouping the model to transfer a copy to the other side of the character.
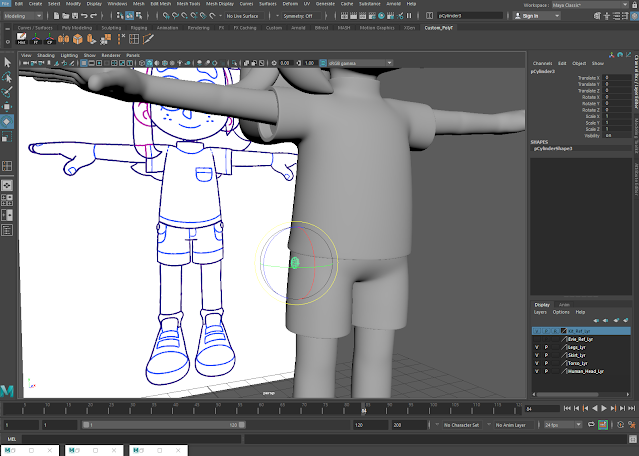
As with some of the other changes I'd also made to other characters, I made the pocket on Kit's shirt 3D, the same way that I'd made Evie's dress pocket.
After removing their reference images to help optimize the scene later on, Kit's model was finished.
The next model to work on is Evie's, and then UVing of all of the models will be completed to move on to rigging and skinning as soon as possible.


No comments:
Post a Comment