The beginning of the tutorial involved opening the project folder and looking through the files.

Opening Mudbox to begin to look at the interface. This was done by going through each tab on the top of the window and looking at the options.

Setting the Mudbox hotkeys option to 'Maya', so the same keys can be used to do similar things in Mudbox such as moving around the viewport and objects within it.

Taking a look at the UV viewport.

Taking a look at the Image Browser viewport (though I hadn't loaded anything into Mudbox yet to be able to browse through files).

Using the number keys to switch between different sculpting tools (the same effect can be achieved in different toolbars, such as the Paint Tools, as well).

Rearranging the layout by unchecking the 'Lock Layout' option in the Windows tab. This allows for tearing and moving of different tabs into different areas of the screen.

It is also possible to import layouts. I opened one of the layouts provided in the downloaded folder to demonstrate this.

Changing the size ring of the tool can be done by holding the 'B' key and simultaneously dragging the left mouse button (or stylus) up and down. When dragged upwards, the ring size increases:

When dragged downwards, it makes it smaller:

The strength of the tool can also be changed in a similar way; this can be done by holding the 'M' key and dragging up and down on the left mouse button or stylus. As with the size of the tool, dragging upwards increases the strength:

Dragging downwards, then, decreases the strength:

The ring colour can also be changed, as with multiple other attributes including the colour of wireframes:

A menu can be opened by holding down the right mouse button. This allows for different options to be selected, including turning on and off the grid and wireframes.

Opening the display menu to look at the different options.

Looking at the 'Full Screen' mode.

Looking at the 'Expert' mode. This removes most of the typical layout for advanced users that are able to use hotkeys efficiently enough to switch quickly between tools and layers.

Creating a basic mesh.

Using the 'W' key to toggle the wireframe on and off on an object.

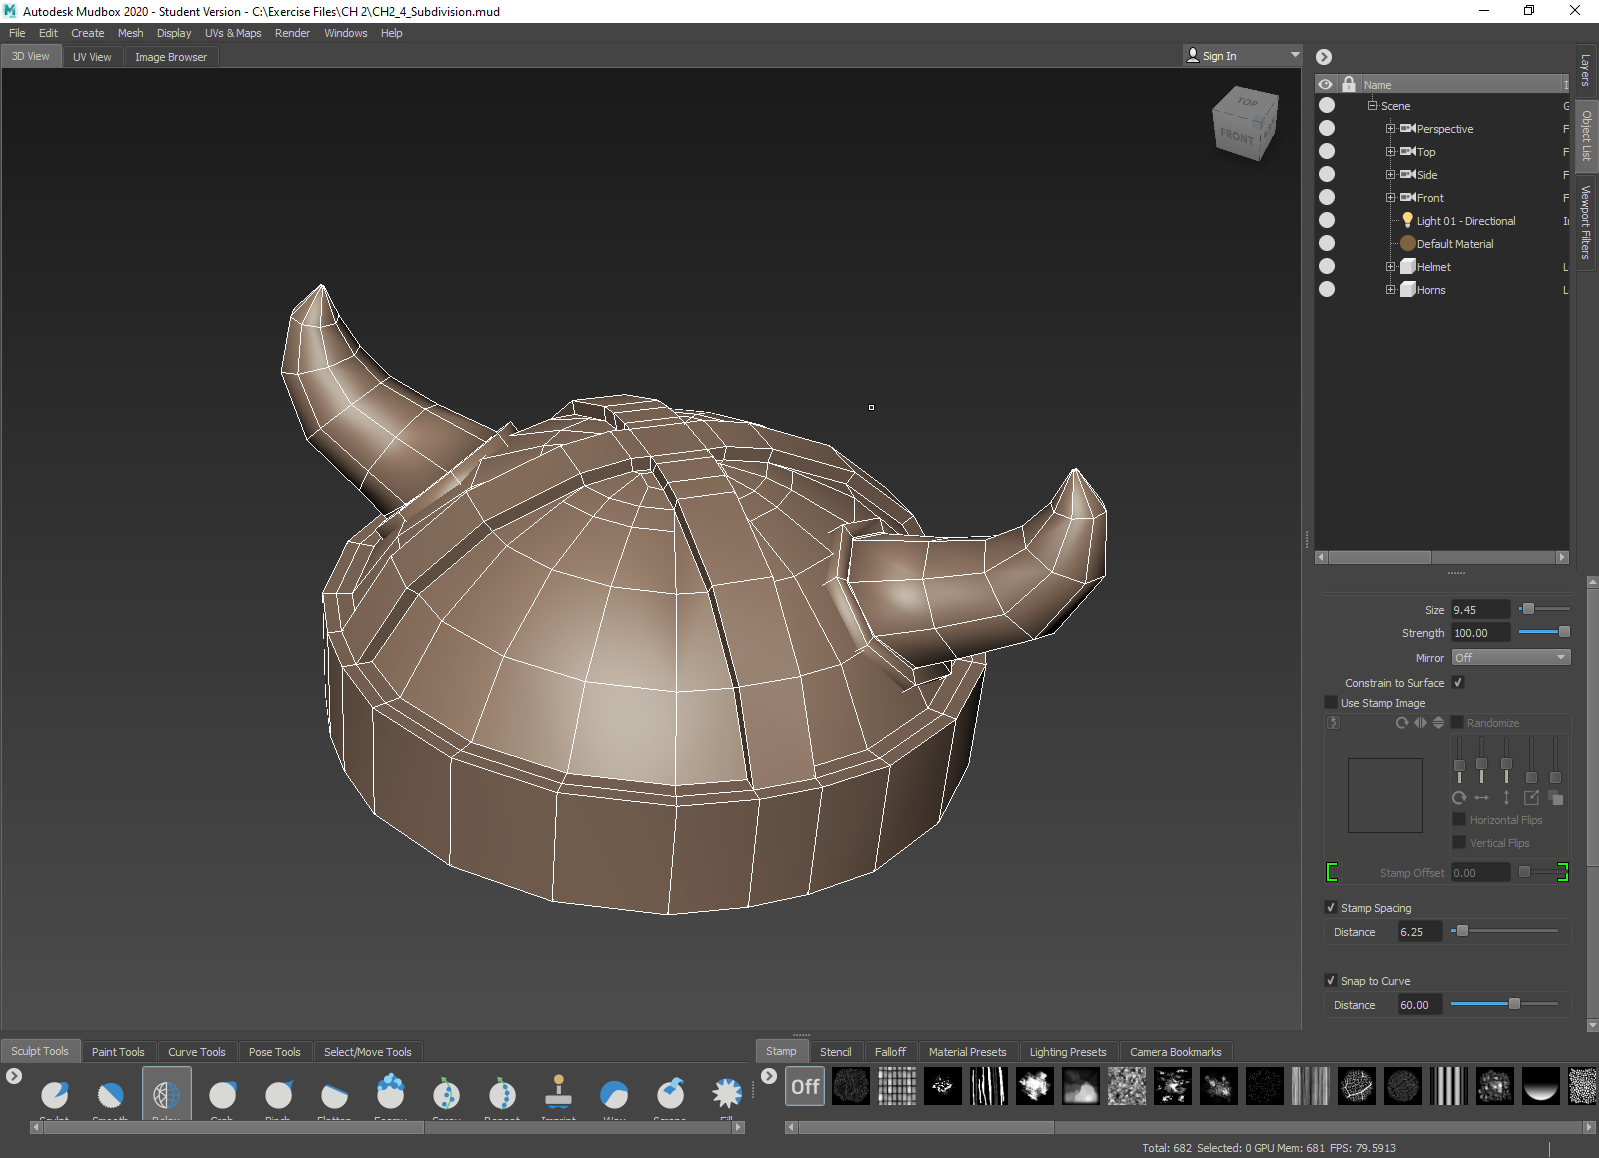
Opening the models in the downloaded folder.
Deselecting the 'Creases and Hard Edges' option. When this is done, any hard edges and other details in geometry are not preserved.

Turning 'Creases and Hard Edges' back on, and then creating subdivisions on an object using default settings.

Deleting levels to return the object to the state it was before.

Creating subdivisions again, but this time unchecking certain options to see what would happen. In this case, 'Preserve Hard Edges' and 'Preserve Creasing' were turned off beforehand.

The result of this is softer shapes, similar to the outcome of turning off the hard edges in the 'Mesh' window.

Isolating parts of a model by right-clicking and selecting the 'Isolate' button.

Moving up and down between levels using the 'Page Up' and 'Page Down' keys.

Creating a new sculpt layer to work on.

Using the 'Grab' tool to edit one of the horns on the new layer. This can then be switched on and off at will.

Creating a second new layer to edit the second horn, this time by bringing it inwards as opposed to stretching it out.

Renaming the layers.

Blending layers by lowering the strength. This essentially has the same effect as opacity would - by decreasing the strength, one can effectively create a shape in-between two layers.

Layers can also be duplicated, and their changes will then be doubled. In this case, the stretched left horn, though on a strength of 55, will be doubled as if it is on a strength of 110.

Merging layers by right-clicking and choosing 'Merge Visible'.

Creating and naming groups.

Dragging layers into groups and organising them.

Groups can be merged to flatten the layers inside of them.

Looking at paint layers on an object.

Creating a new paint layer and looking at the definition types, file types, and channel types that they can be made with.

Decreasing certain paint layers can achieve different effects. In this case, the ambient occlusion of the helmet was decreased.

Increasing the ambient occlusion layer - it is worth noting that paint layers can be increased beyond a value of 100 to achieve any desired effect on the textures.

Creating a second new paint layer and naming it accordingly.

Paint layers can be merged in such a way that preserves what is on the original layers - this is an option that can be accessed by right-clicking, as with simply merging layers. In the tutorial, some of the steel layers were merged as an example.

Merging paint layers normally.

'Soloing' a layer.

Since the diffuse layers were being used as an example, one of the 'Normal' layers was used to demonstrate what the 'Soloing as Diffuse' option would look like.

Masks can also be created in layers to prevent painting from going outside of the desired areas. In this case, the mask is applied to the metal portion of the helmet.

Putting the mask back into the layers properly allows a demonstration of how the mask works, as the metal texture is no longer spilling onto the wooden part of the model.


No comments:
Post a Comment