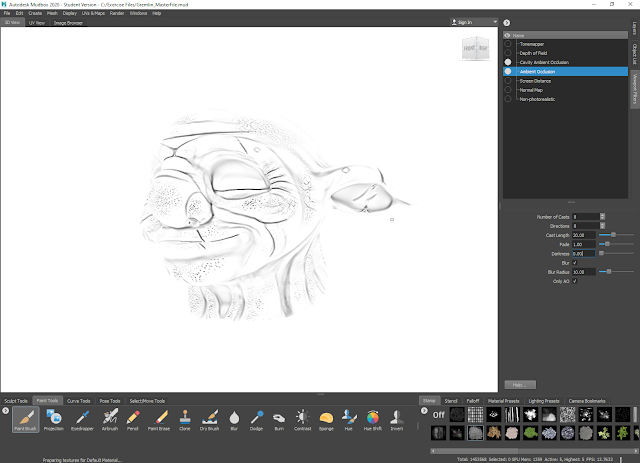
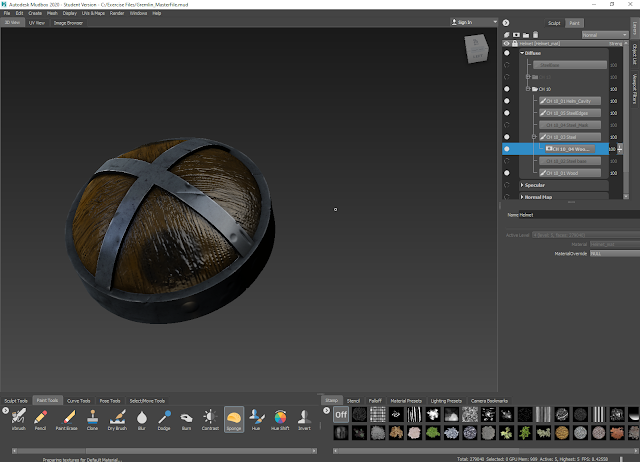
Isolating the head to paint onto it.
Creating a new paint layer.
Selecting a colour to use for the base of the character.
Choosing the 'Flood Paint Layer' option, which acts similarly to a fill bucket option and covers the entire mesh.
Extracting an Ambient Occlusion texture map for use on flat lighting to better see facial details when painting.
Turning on the 'Flat Lighting' mode by right-clicking and toggling it on.
Turning on Ambient Occlusion to compare it to Cavity Ambient Occlusion.
Viewing the Cavity map on the character model.
Placing the Cavity map on 'Multiply' mode so it shows up efficiently on the 'Flat Lighting' mode when painting.
Returning to 'Flat Lighting' mode with the Cavity map.
Adding a lighter texture around the eyes to act as a contrast to the base colour.
Adding 'temperature' to the face by applying red and blue hues around the mouth, eyes, nose, and cheeks.
Moving onto using the 'Projection' brush in order to give texture to the skin.
Opening the helmet in an orthographic UV view. This allows for the metal banding to have the 'Projection' brush applied to it as well.
Once the helmet is back into its perspective view, the seams of the texture are painted over in efforts to blend them.
Right-clicking the layer modes to see which ones are available for use opens a drop-down list.
Returning to the gremlin model and using the 'Adjust Colour' function to shift the hue, saturation, values, and curves of the colour.
Changing the layer mode to 'Overlay'.
Adjusting the overlay's colours and changing the opacity of the layer.
Returning to the helmet to adjust the steel banding colour using the same methods.
The next tutorial uses the example helmet to explore how masks function.
Opening the example mask file in the image browser.
Opening the mask texture on the model.
Applying the mask to a layer.
Using the 'Inverse' preset in the colour adjustment menu to reverse the colours.
Reapplying the texture.
Duplicating the layer and reversing its colours back to their original state, and then applying the it to the wood layer.
Additional work was completed on the painting of the character model:
Soloing a duplicate of the textured skin layer and using the colour adjustment menu to switch to the 'Black and White' preset.
Moving the layer to the 'Bump Maps' section and its result:
Reversing the dimpled effect by selecting the Bump map layer and returning to the colour adjustment menu to select the 'Inverse' preset and switching the original textures back on.
Reducing the opacity of the Bump map layer.
Retrieving a Normal map from the Bump map created and the result:
Opening the horns and helmet models to paint cracks onto the horns. The 'Randomize' and 'Stamp Spacing' functions are also utilised to give a more natural appearance.
Setting the layer mode to overlay after applying the cracks.
Adding contrast to make the cracks stand out even more.
Creating a duplicate and then making a Bump map from it to add more subtle effects to the texture.
Using the 'Dry Brush' tool to add scrape effects to the helmet. This also allows the cracks and dent marks in the metal banding to stand out more as well.
Exporting the example dodge layer to open the live bridge between Photoshop and Mudbox.
The file opened in Photoshop:
Adjusting the levels on the map.
Changing the hue and saturation.
Using an unsharp mask to sharpen the features of the mask before exporting it back into Mudbox.


No comments:
Post a Comment