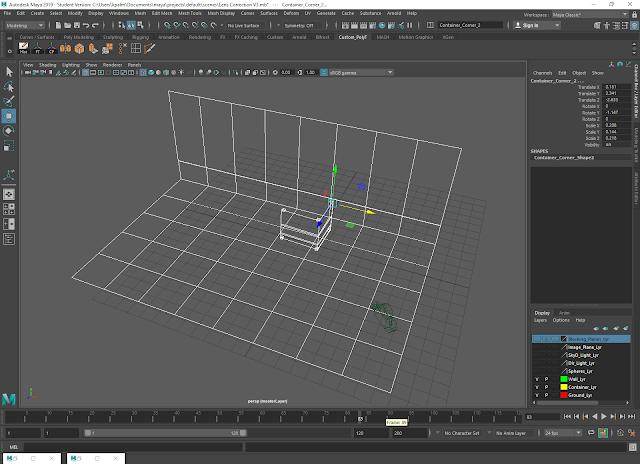
Monday's lesson had us continuing with the Photogrammetry tutorials. The first step of the next video had us deleting all of the render layers that we'd made before as well as putting everything in the scene onto separate layers.
Setting up the rest of the scene by adding loops to the wall, deleting faces from the ground plane, and combining the meshes together before merging the vertexes together.
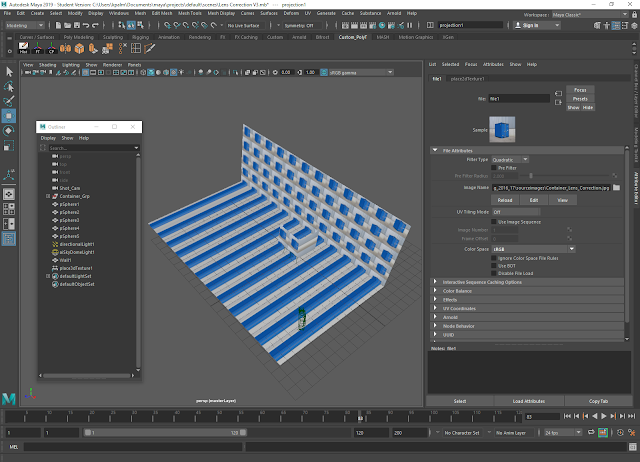
Setting up a surface shader on the objects and inserting the original lens corrected image as a projection.
Editing the projection and camera projection attributes.
Laying out the UVs.
Setting up a new camera and keying two different positions in the scene.
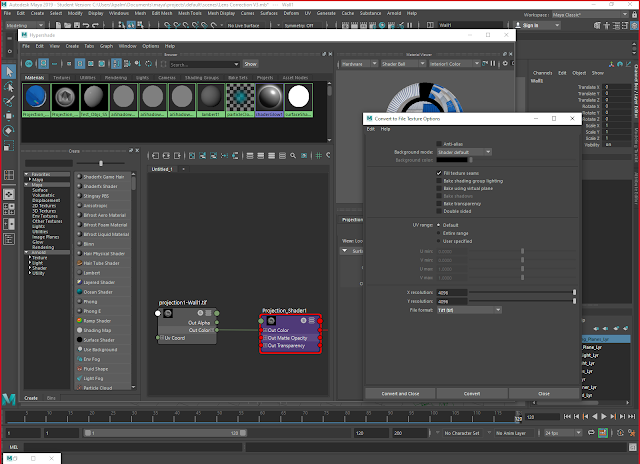
Baking out the container body and background (wall and ground) into tiff files.
The results:


No comments:
Post a Comment