The next tutorial involved continuing from where the previous one left off; by taking the exported .tif file into Photoshop and editing it to make it fit convincingly with the combined wall and ground shape.


Bringing the file into Maya by applying it to the wall and ground shape, and then altering the second shot camera's position for the first keyframe and then re-keying it to accommodate for these changes.

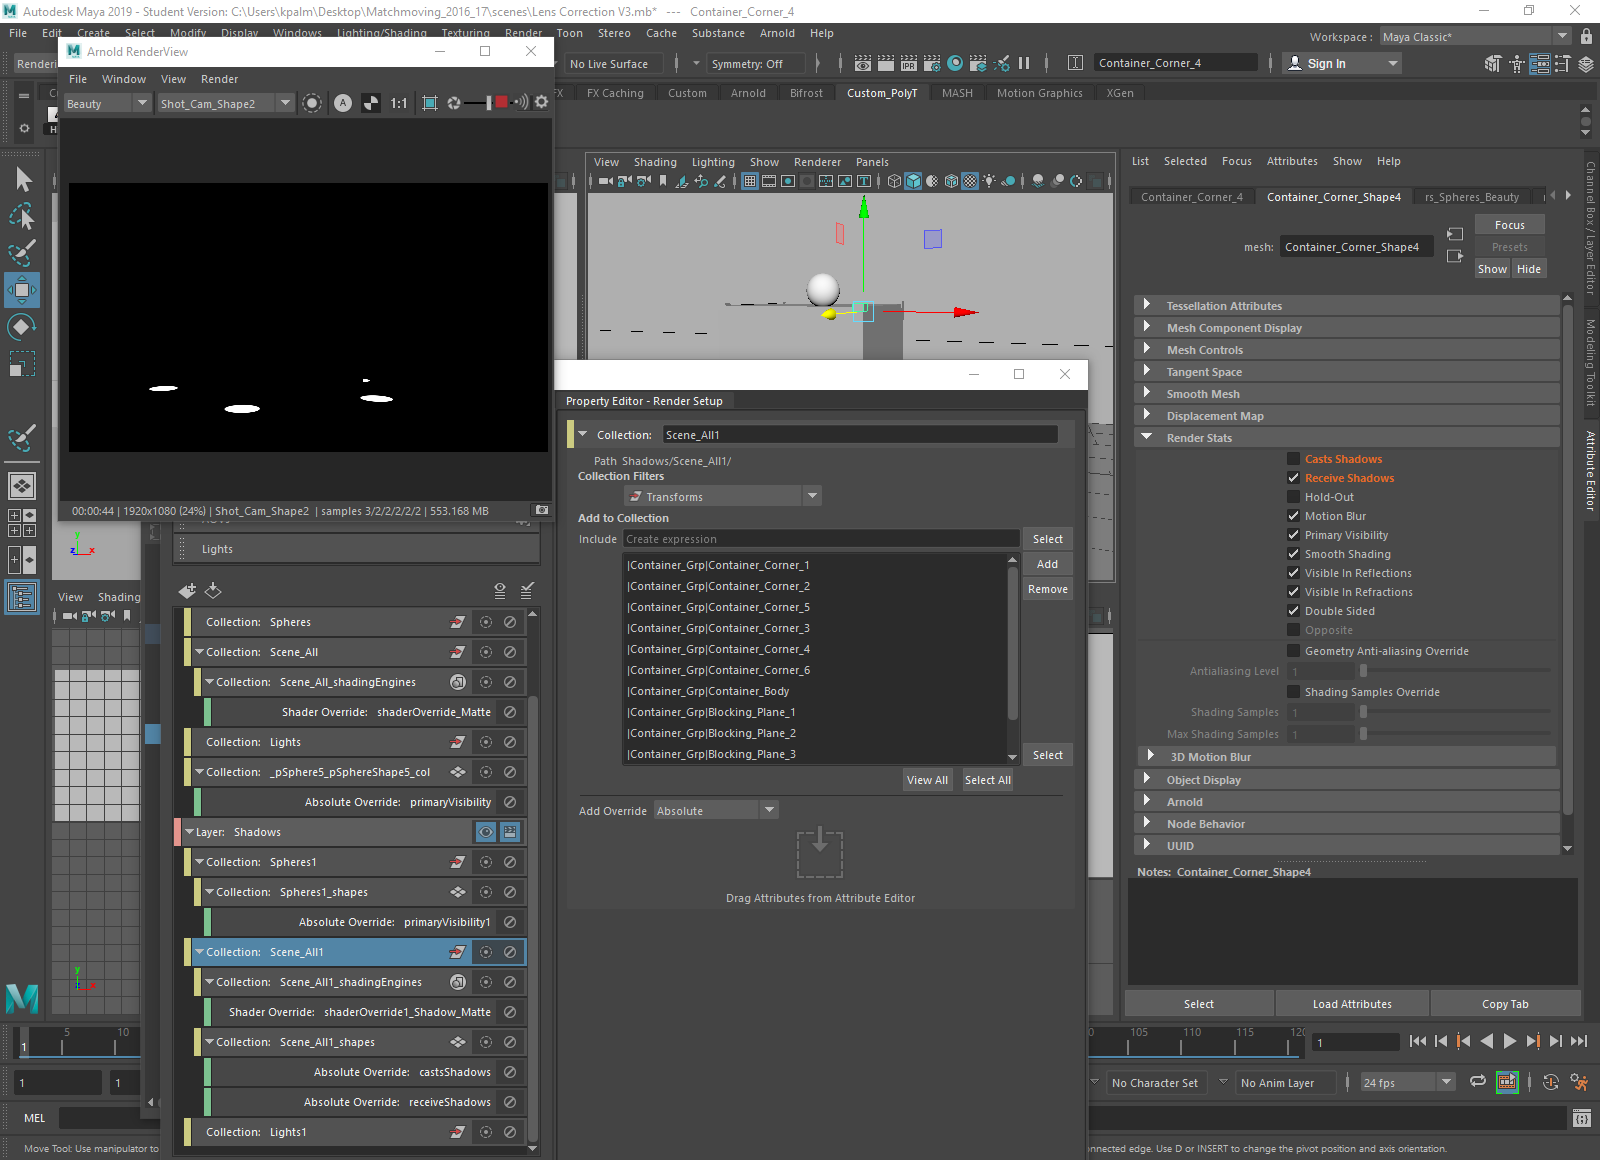
Setting up a 'software' light to be rendered using the Maya software without having to edit the directional light already existing in the scene by duplicating it and assigning it to a layer, and then placing a lambert texture (renamed to 'Shadow_Catcher') on the objects in the scene and adjusting its settings.

Changing the render settings and then taking a test render through Maya software.

Adjusting the Shadow_Catcher shader's settings, adding the blocking planes from earlier back into the shot, and duplicating one of the corner pieces to move it to the side to create a more convincing shadow.

Exporting the information out to take it into Photoshop.


Opening the exported file and the file that I was working on before in Photoshop, pasting the exported shadow onto the canvas, and then setting its layer to multiply before lowering the opacity. This was then duplicated and parts of its edges erased to create a better-looking shadow.

Dragging the updated texture back onto the wall and ground shape.

Reapplying the shaders to the container, making a new one to add to the blocking planes so they fit better with the rest of the container, deleting the software light and then bringing the spheres back into the scene.

Setting up some render layers and then rendering them out using the render sequence options.
Opening the renders in After Effects and changing the settings from 8 bits per channel to 32.

Continuing to work on the composition by putting in the different sequences, and editing them to better fit with each other. This is done by changing layer types, adjusting opacity settings, and adding effects such as exposure.


No comments:
Post a Comment