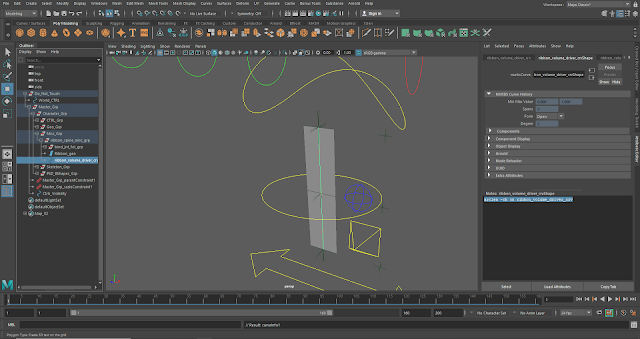
This week's class had us looking at curve driven squash and stretch rigging, pole vectors, and rigging a switch between IKs and FKs. The first of these tutorials was the curve driven squash and stretch, and the first step involved writing down a code and inputting it into the MEL segment in the bottom left corner of the screen.
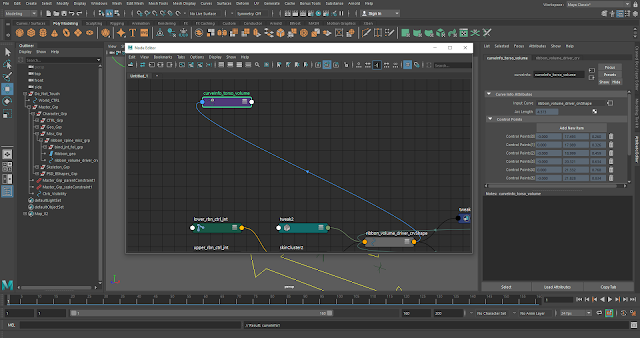
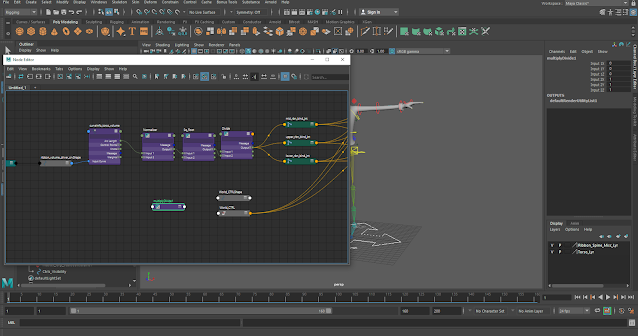
Opening the node editor and renaming the 'driver' (which in this case is the selected node in the screenshot, "curveInfo_torso_volume").
Breaking the connections for the Scale X, Y, and Z channels.
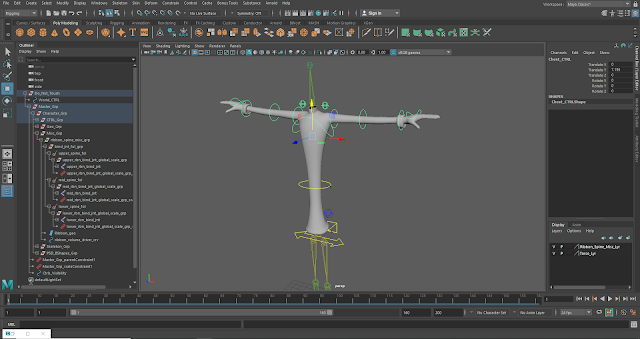
Grouping and renaming the different parts of the spine.
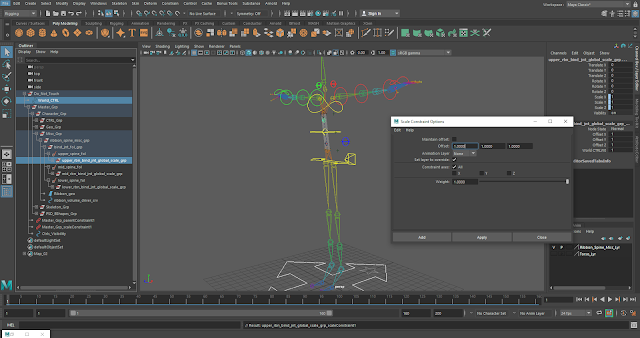
Constraining the scale of the joints to the control beneath the rig.
Reopening the node editor with the necessary nodes.
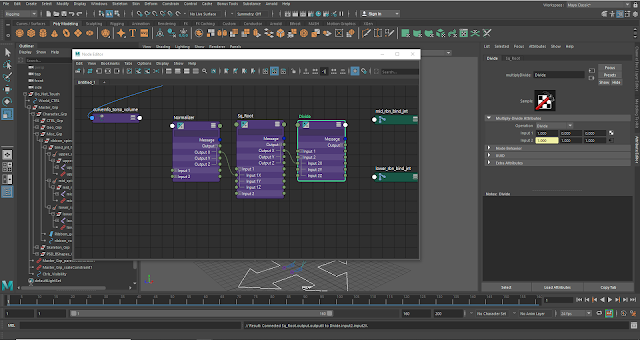
Setting up a system using 'multiplydivide' nodes and then editing these nodes using the attribute editor.
Plugging the finished system into the nodes for the joints.
Testing out the result so far.
Returning to the node editor to create another 'multiplydivide' node and bringing the rig's "world control" into the editor as well.
Setting up the new node using the attribute editor and a similar process as before and then plugging it in.







No comments:
Post a Comment