Opening the scene in Maya and running a test render with Arnold to check the displacement maps.
Attempting to get the displacement maps to work again (as with the subsurface tutorial, I couldn't increase the height without the character swelling again despite using a different computer, so I'll revisit this later).
Adding a diffuse render to test the AOV function.
Removing the diffuse test to add and render an ID pass.
Adding in the other passes needed.
Creating a custom AOV for ambient occlusion.
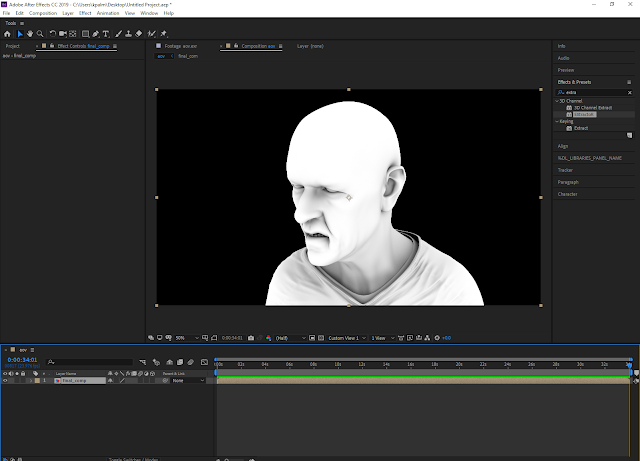
After rendering the passes out as an .exr file, they are brought into After Effects.
Opening the EXtractoR and isolating the ambience occlusion pass.
Separating all of the passes into their own layers.
Rearranging the layers.
Pre-composing everything.
Changing the colour space, setting up the second viewing window and changing the diffuse indirect layer mode to 'add'.
Changing the SSS layer to add.
Changing the specular direct and indirect layers to add.
Changing the transmission layer to add.
Changing the ambient occlusion layer's mode to multiply and lowering its opacity to 33%.
Adding brightness and contrast
Using the linear colour key tool and inverted track matte to isolate the left eye.
Using brightness and contrast to make the left eye brighter.
Isolating the right eye and making it brighter using the same method.
Opening the file in Photoshop.
The final result.


No comments:
Post a Comment