Opening the file in Maya and applying an aiStandardSurface shader to the character.

Configuring settings on the shape node and running a test render with Arnold.

Applying diffuse to the colour channel.

Changing the UV smoothing type to linear.

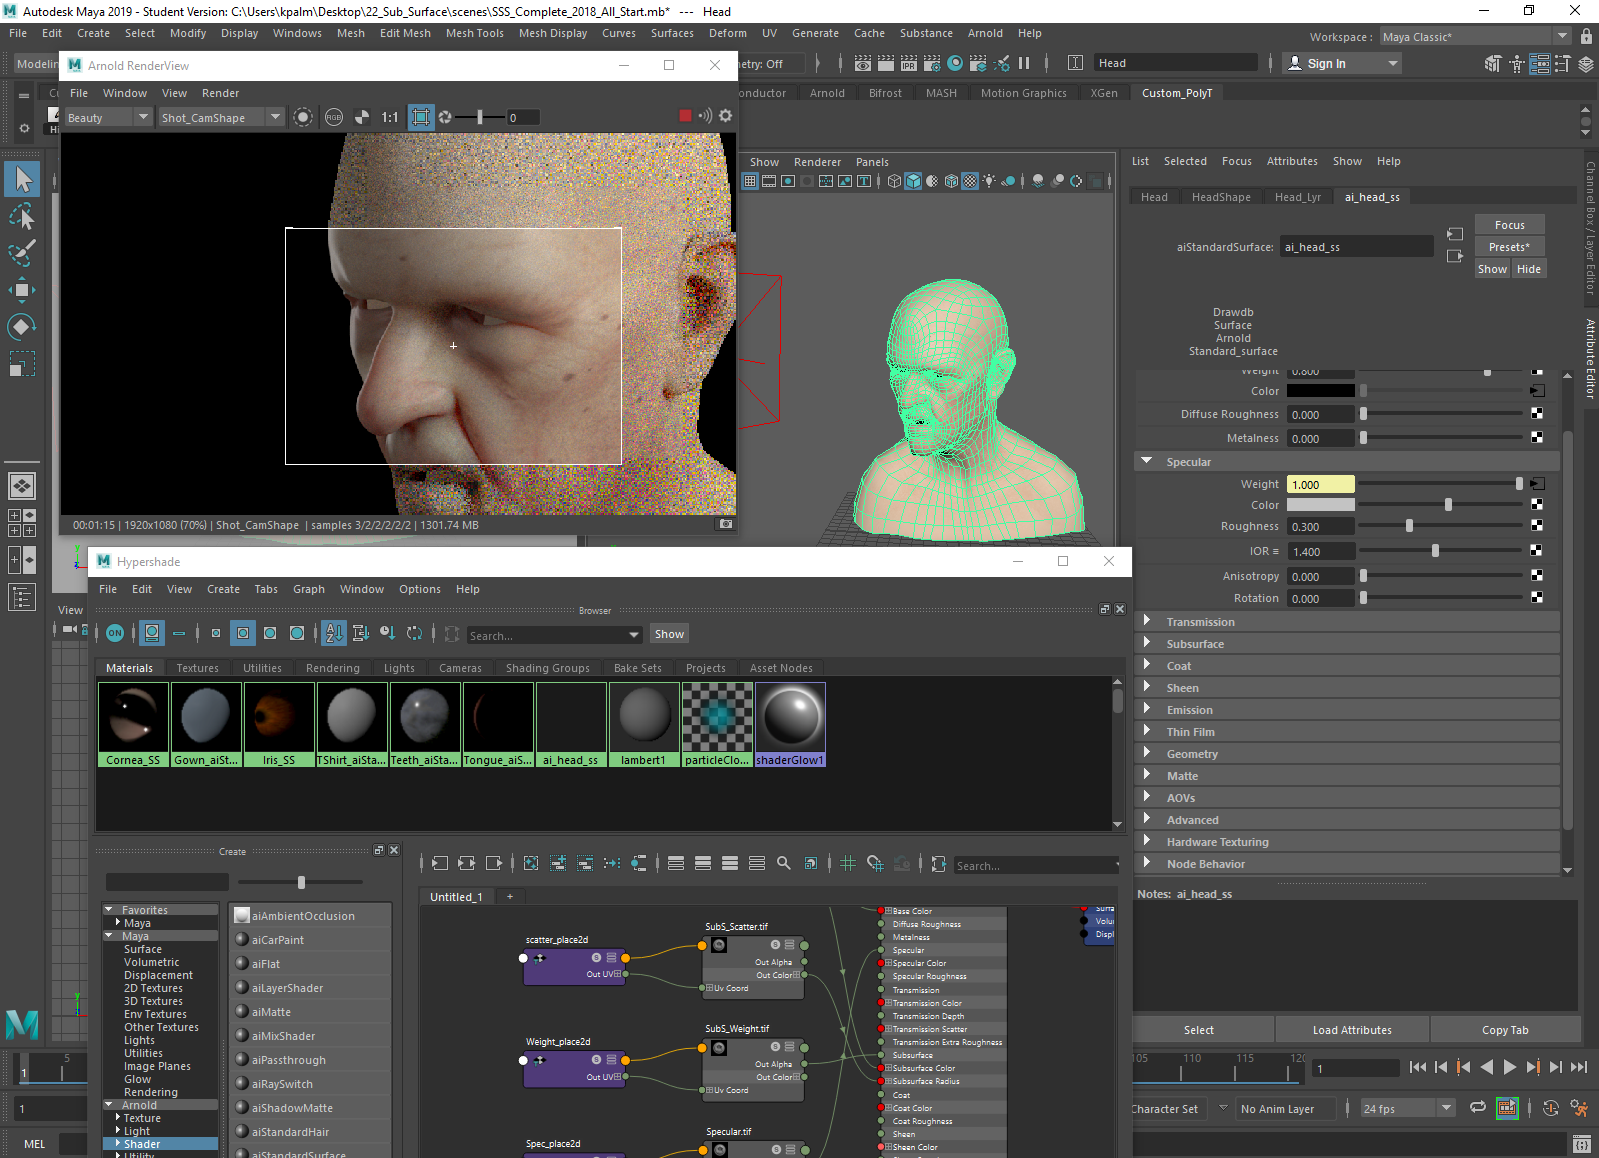
Turning on the subsurface channels.

Adding in the subsurface maps and adjusting the scale.

Adding specularity.

Adjusting the specular settings.
Putting in the normal maps.

Readjusting the specular settings according to the changes made by adding the normals.

Adding displacement maps and running a test render with Arnold.

Changing the displacement settings (I couldn't get the 'height' to increase any further without the model swelling again, so I had to leave the displacement very low).

Bringing in the other components (clothes, teeth, tongue, and eyes) and adjusting the specular again.

Changing the Arnold render settings.

The final result.

Adding remap colour and remap HSV channels and plugging the remap colour into the base colour and subsurface colour channels.

Increasing the red hue.

Increasing the green hue.

Decreasing the red hue.

Plugging in the remap HSV instead of the remap colour.

Decreasing the saturation.

Increasing the saturation.

Plugging in the remap colour channel to the remap HSV channel.

A rendered ambient occlusion pass to take into Photoshop.

Opening the beauty pass and ambient occlusion pass in Photoshop, giving them backgrounds, and pasting the ambient occlusion pass onto the beauty pass.

Changing the ambient occlusion pass layer to 'multiply' mode and decreasing its opacity to 50%.

The final result.

If I can get the displacement map to work, I'll come back to redo this, though this is my third attempt and after changing some settings I still haven't been able to get it to work, so I'm going to move on to the last of the lighting and rendering tutorials.


No comments:
Post a Comment